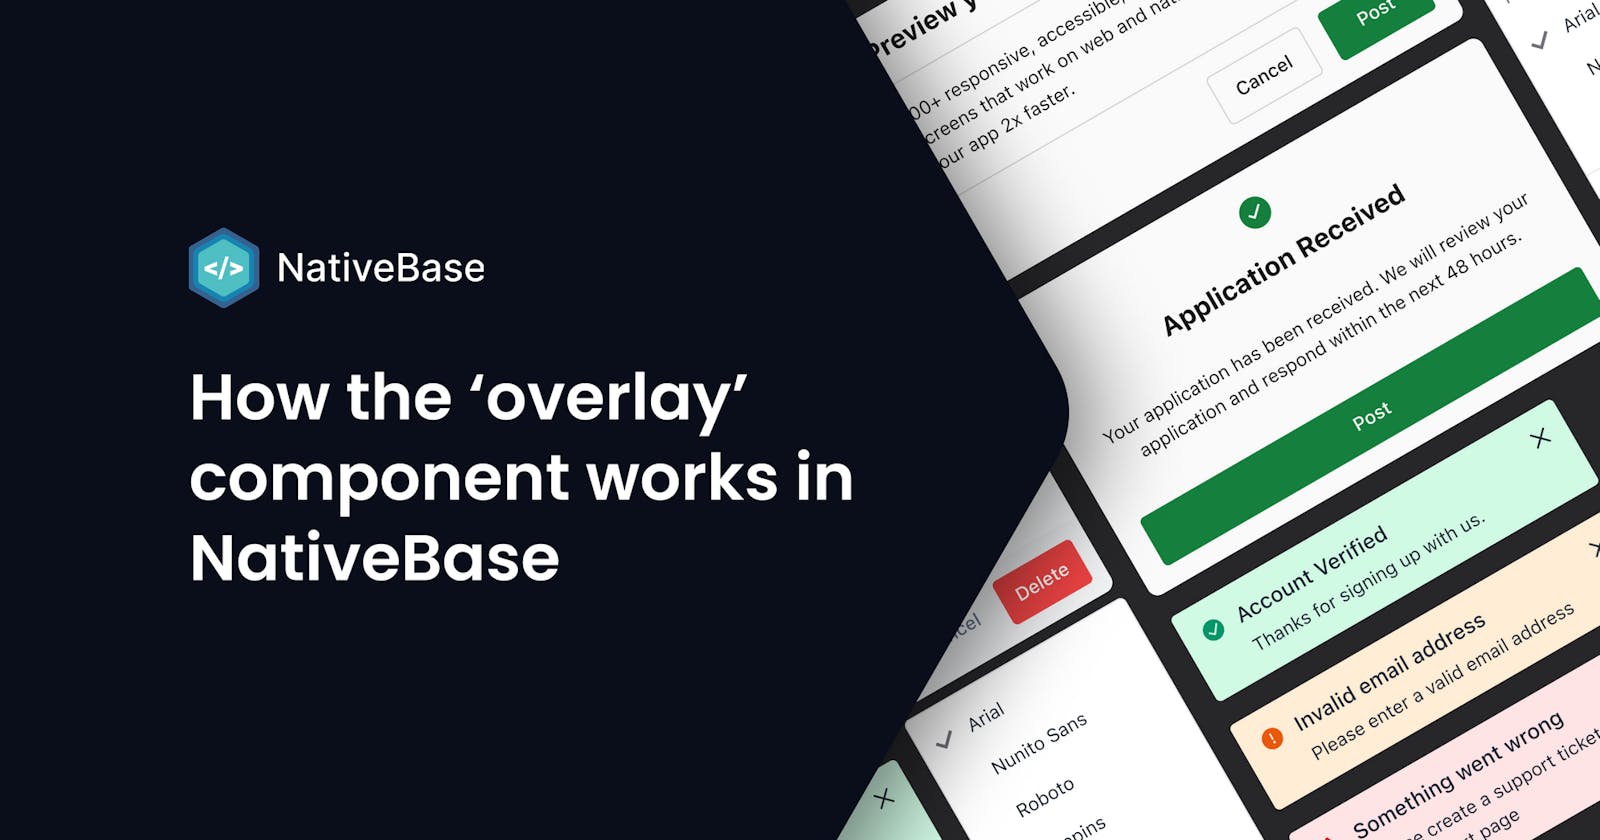


The overlay component provides contextual information and options in the form of an additional layer on top of the current state of the interface. They are either purposefully interruptive like modals or augmenting like popovers and tooltips.
This article explains how it works in detail.
Why use an overlay component?
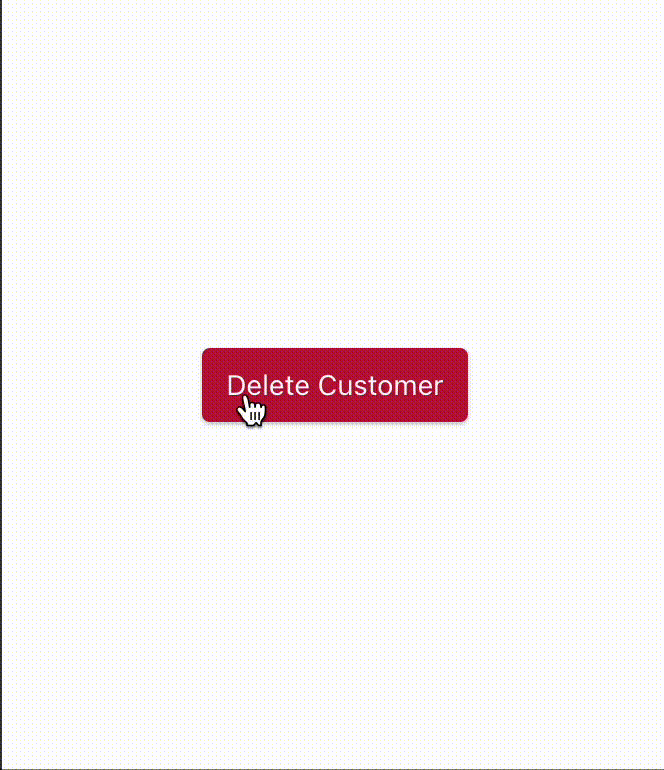
Here is a quick example using the Alert Dialog box. In it, the NativeBase AlertDialog component confirms whether you want to delete a customer or not.
Such overlay components allow us to take quick information or confirmation from users. This is done without actual navigation or re-routing them to a new screen.
Here is the code snippet of the components.⤵️
const Example = () => {
  const [isOpen, setIsOpen] = React.useState(false);

  const onClose = () => setIsOpen(false);

  const cancelRef = React.useRef(null);
  return <Center>
      <Button shadow={2} colorScheme="danger" onPress={() => setIsOpen(!isOpen)}>
        Delete Customer
      </Button>
      <AlertDialog leastDestructiveRef={cancelRef} isOpen={isOpen} onClose={onClose}>
        <AlertDialog.Content>
          <AlertDialog.CloseButton />
          <AlertDialog.Header>Delete Customer</AlertDialog.Header>
          <AlertDialog.Body>
            This will remove all data relating to Alex. This action cannot be
            reversed. Deleted data can not be recovered.
          </AlertDialog.Body>
          <AlertDialog.Footer>
            <Button.Group space={2}>
              <Button variant="unstyled" colorScheme="coolGray" onPress={onClose} ref={cancelRef}>
                Cancel
              </Button>
              <Button colorScheme="danger" onPress={onClose}>
                Delete
              </Button>
            </Button.Group>
          </AlertDialog.Footer>
        </AlertDialog.Content>
      </AlertDialog>
    </Center>;
};
Here is a video example ⤵️
Overlay component using React.Portal in web
const Example = () => {
  <Box bg="red.400" w="200px" h="200px">
    <Box bg="yellow.400" w="100%" h="100%">
      <Modal /> {/* line 4 */}
      <Box bg="green.400" w="100%" h="100%" />
    </Box>
  </Box>;
};
When we write a Modal inside an element (Parent element line 4) there is a possibility that the modal will be cropped or covered up by other elements. To avoid this, we use CSS properties like overflow: hidden and z-index to ensure it appears on top.
Sometimes the modal is in a child that is nested a dozen level-deep. In this case, it is difficult to modify the style of the child without breaking the one from the parent. To avoid this, we want to take the modal out of this hierarchy. This will allow us to manipulate it without affecting the parents. For this, we have a Portal. It takes the child (any renderable React element or JSX) and container (a DOM element where the child gets rendered) as arguments.
Therefore, when we create a Portal for our Modal it will not render in the root div but instead modal-root. This concept is shown below.
<html>
  <body>
    <div id="root"></div>
    <div id="modal-root"> <Modal/> </div>
  </body>
</html>
Overlay component in React-native
In React-native, we don't have a Portal. To achieve a similar effect, we use React context.
Here is an example:
const PortalContext = React.createContext<PortalContext | null>(null);

interface PortalContext {
  items: Array<OverlayItem>;
  setOverlayItem: (node: ReactNode) => number;
  removeOverlayItem: (id: number) => void;
  updateOverlayItem: (id: number, node: ReactNode) => void;
}
If we look at our context from react-native-aria for Portal, we need to understand four things:
- Items represent Array of OverlayItems
- setOverlayItem is a setter for our items
- removeOverlayItem deletes an item with a particular id
- updateOverlayItem updates an item with a particular id
Here's how we can implement this ⤵️
 function Portal(props: ModalProviderProps) {
  const context = usePortalProvider();
  const overlayId = React.useRef<number | undefined>(undefined);
  let contents = <OverlayView {...props} />;

  useEffect(
    () => {
      // Mount
      if (overlayId.current === undefined) {
        overlayId.current = context?.setOverlayItem(contents);
      }
      // Update
      else {
        if (overlayId.current) {
          context?.updateOverlayItem(overlayId.current, contents);
        }
      }
    },
    // To re-render the child
    [props]
  );

  // Unmount
  useEffect(() => {
    return () => {
      if (overlayId.current) {
        context?.removeOverlayItem(overlayId.current);
      }
    };
  }, []);

  return null;
}
We first grab our PortalContext and create a ref for our Portal. Then we create content which is a view with style={[StyleSheet.absoluteFill, style]}. We then create useEffect with props as a dependency which calls setOverlayItem to push our content to the item array and update it when props are changed.
To finish up, we add a cleanup function in another useEffect which calls removeOverlayItem with ID to delete Overlay from an item array. in the end, we return null which doesn't print anything where it's actually written.
PortalProvider
In Provider, we define our context values. We render children which is a root, and then as a sibling, we map over all the overlay items to render them one by one.
export function PortalProvider(props: { children: ReactNode }) {
  const [items, setItems] = React.useState<Array<OverlayItem>>([]);

  const setOverlayItem = (item: ReactNode) => {
    const overlayId = ++globalOverlayCounter;
    setItems((prev) => prev.concat([{ id: overlayId, node: item }]));
    return overlayId;
  };

  const updateOverlayItem = (id: number, node: ReactNode) => {
    setItems((prev) =>
      prev.map((item) => {
        if (item.id === id) {
          return { id, node };
        }
        return item;
      })
    );
  };

  const removeOverlayItem = (id: number) => {
    setItems((prev) => {
      const newItems = prev.filter((item) => item.id !== id);
      return newItems;
    });
  };

  return (
    <PortalContext.Provider
      value={{ items, setOverlayItem, removeOverlayItem, updateOverlayItem }}
    >
      {props.children}

      {/* Render Overlays */}
      {items.map((item) => {
        return <React.Fragment key={item.id}>{item.node}</React.Fragment>;
      })}
    </PortalContext.Provider>
  );
}
At the end inside NativeBaseProvider, we wrap children with PortalProvider.
 <NativeBaseConfigProvider
      theme={newTheme}
      config={config}
      currentBreakpoint={currentBreakpoint}
      isSSR={isSSR}
      disableContrastText={disableContrastText}
    >
      <SafeAreaProvider
        initialMetrics={
          initialWindowMetrics ?? defaultInitialWindowMetricsBasedOnPlatform
        }
      >
        <ResponsiveQueryProvider disableCSSMediaQueries={!isSSR}>
          <HybridProvider
            colorModeManager={colorModeManager}
            options={theme.config}
          >
            <PortalProvider>
              <ToastProvider>
                <InitializeToastRef />
                <SSRProvider>{children}</SSRProvider>
              </ToastProvider>
            </PortalProvider>
          </HybridProvider>
        </ResponsiveQueryProvider>
      </SafeAreaProvider>
    </NativeBaseConfigProvider>
Difficulties of using overlay in React-native
- Accessibility: Since it's a view providing Modal or overlay components accessibility is difficult.
- Prioritization: Maintaining priority for overlay components is difficult. Suppose we have
toastas an overlay component which should be displayed on top even if Modal is rendered after toast. In this case, we have to insert toast such that it will always be at the end of the item array. - RN Modal: Since our overlay is View, RN Modal will always be on top and our overlay components will render behind.
Summary
Overlay components in react native can be achieved via React.Context but managing their Accessibility and making them feel like react portal is difficult. If we are okay with this trade-off. it’s great to have them in our application.